NailMania – A first attempt at ombre nails.
 |
Have you seen the amazing ombre nails on Pinterest and Instagram? Check them out if you haven’t because there are some amazing nail artists out there. Ive been looking at ombre nails for a while now but have been pretty intimidated by how difficult it seemed!
I finally gave it a go last week and while my results were not the best I did manage to create a soft and pretty effect. I received a few compliments from strangers (the hairdresser and two sales assistants at Priceline lol)
If you think they look far too hard to attempt have a look at the simple steps below.
What you’ll need

– A white polish
– three polish shades of your choice. I choose violet, baby blue and baby pink.
– cottons swabs
– latex sponge (a cheap makeup sponge is perfect)
– pvc/craft glue
– old magazine or disposable plate
– clear top coat polish

Apply one to two shades of white polish to your nails, try and make it as even as possible as this will be the base of your manicure and its hard to get great results when your first layer is bumpy. Leave this to dry for ten minutes.
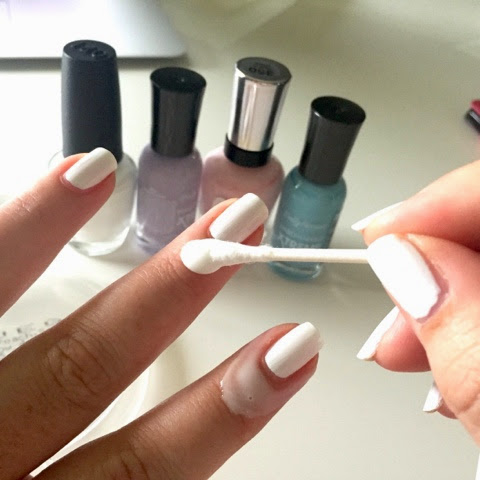
While the white polish is drying pour a small amount of glue onto your magazine or disposable plate, dip in a cotton swab and paint the glue around the outer edge of your nail. Try and get as close to the edge as possible without getting any of the glue on the actual nail

This layer of glue will be a life saver when its time to clean up. You will kick yourself if you skip this step. There are products on the market which are used in exactly the same manner but are far less economical than glue (and are hard to track down if you’re not in the USA) This glue trick also works for water marbling and those nail painters that have shaky hands.

Take your sponge and cut it down to a manageable size. Using the nail polish brush apply a stripe of polish to the sponge. Place a complimentary shade next to it and repeat until you have the desired number of shades on the sponge. A note here that the best ombres are the ones that use shades from similar colour families or use gradient colours. In my manicure i used three pastels and positioned them so that the violet is in the middle of the pink and blue.

Dont worry if the shades overlap. The polish mixing will give a more seamless ombre effect.
You will need to remove some of the excess polish from the sponge or else your sponge will be too wet and the ombre won’t work. You can do this by stamping the sponge on your plate or magazine cover a couple of times. You will need to do this every time you apply more polish to the sponge.

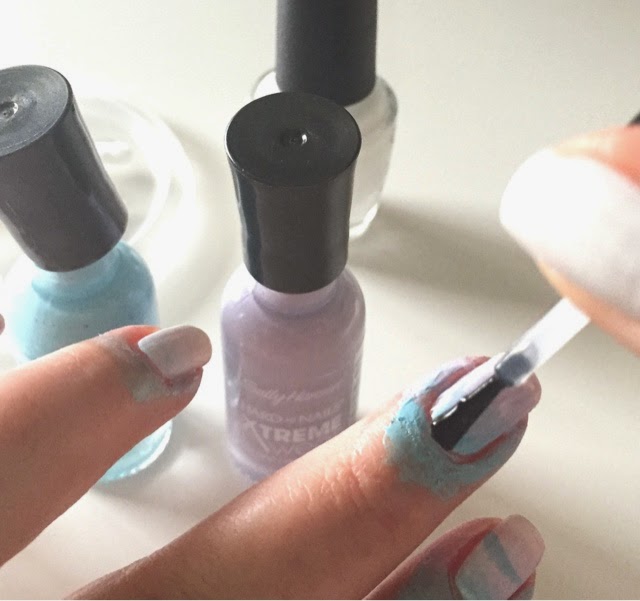
Once you have removed the surplus polish from the sponge you can then stamp your nail with the sponge to deposit a thin layer of mixed polish to the surface. I found that i could usually stamp two to three nails each time before reloading (and removing the surplus again) the sponge with more polish.

After one application the polish will probably be too sheer and you will need to repeat the process once or twice to achieve the desired intensity of colour. Also repeated layers of polish will create a more blended look to your ombre (see how the lines between the colours are visible with just one layer)
Once you have built up enough colour seal your manicure with one or two coats of topcoat. The topcoat will add shine and even out the stippled finish of the polish.
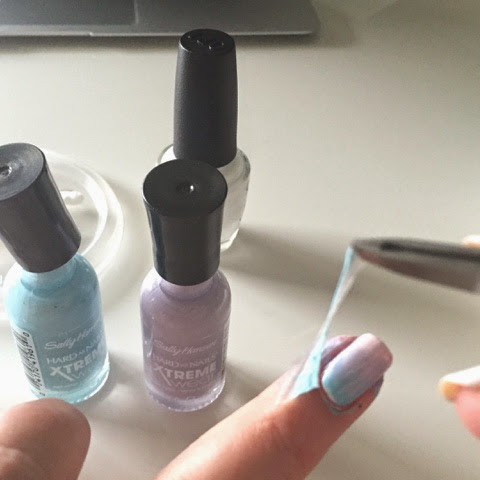
Use a pair of tweezers to gently lift the dried glue from the kin around your nails and peel off the mess! Use a clean up brush or a cotton swab soaked in polish remover to cleanup any bits of glue and polish that are stuck to the skin.

And there we are! You have completed your first ever ombre manicure! If this post has inspired you to recreate it please let me know by tagging me in a photo on Facebook or Instagram (@lipsticknlinguine) I would love to see what colour combinations you come up with!
Thanks for stopping by!
- January 30, 2015
- No Comments
- 0
- Nail polish, ombre, OPI, sally Hansen